Art is Basic has moved!

Art is Basic has moved!
Visit my new blog location by clicking on the Art is Basic logo.
Showing posts with label paint. Show all posts

Friday, November 2, 2012

Abstract Oil Pastel Trees-- 4th/5th grade


This is a lesson I teach every year because the results are so beautiful!  Each of the kid's drawings just turns out wonderful.

The 4/5s drew trees to complement their studies in Science class.
How can line be used creatively to make a stylized picture?  How can oil pastels be used effectively?   The students aimed to use line creatively and made stylized art.  A focus of the lesson was color mixing, blending and layering of the oil pastel.

Steps:
Day One-- (40 minutes)
1.  Show images of Piet Mondrian's abstract trees.  I use a powerpoint slideshow to show his art work.  Discuss how he started out with realistic trees, then they became more and more abstract.  Finally, his style progressed to just shapes, lines and colors... the style with primary colors which he is most known for.  


2.  Sketch a stylized tree with pencil.  Make sure the trees branches create sections for coloring in.  These lines should touch the edges of the page.  Tell the students that they can draw their tree with creative lines, but to avoid drawing lots and lots of tiny branches.


3.  Paint over the tree lines with black tempera paint.  You might need two coats to make it nice and solid.  At this point, many of the children are done with this step and can move on next period.  Others will need to finish painting the next class period.


Day Two, Three and maybe Four-- (40 minutes) 

4.  After the paint is dry, color thickly with oil pastels in each of the white sections (negative space).  Layer colors on top of each other to mix colors.  Then, use your finger to smudge and blend.  Show the students how they can make a color lighter by adding white or darker by adding black.  Show them how to make gradations or color changes within the sections (for example blending purple and blue from one side to the other).


Tuesday, September 11, 2012

What can you do with a dot?

The Dot (Irma S and James H Black Honor for Excellence in Children's Literature (Awards))A great project to begin the year is a DOT project.  The kindergartners read the book The Dot, by Peter Reynolds.  I love this book!

We also view a slide show of some artworks that use dots (Australian Aboriginal, Seurat).

The first day we trace circles on colored construction paper.  We use lids, cups and rolls of masking tape.   The children cut these circles out and glue them to a white piece of paper.

On the second day, they finish cutting their circles and then they start adding dots to their paper with markers.  Finally, they come over to the paint dotter station and add some paint dots.  I like the  Do-A-Dot Rainbow Art Set.  These are also fun for toddlers to use!

The child who made this said that it was a picture of herself, dancing in a ballroom in a ballgown.. it is an overhead view.


Tuesday, August 14, 2012

Fabric Collages


I never posted about these fabric collages that we finished at the end of the year last year.   The third and fourth graders made these.

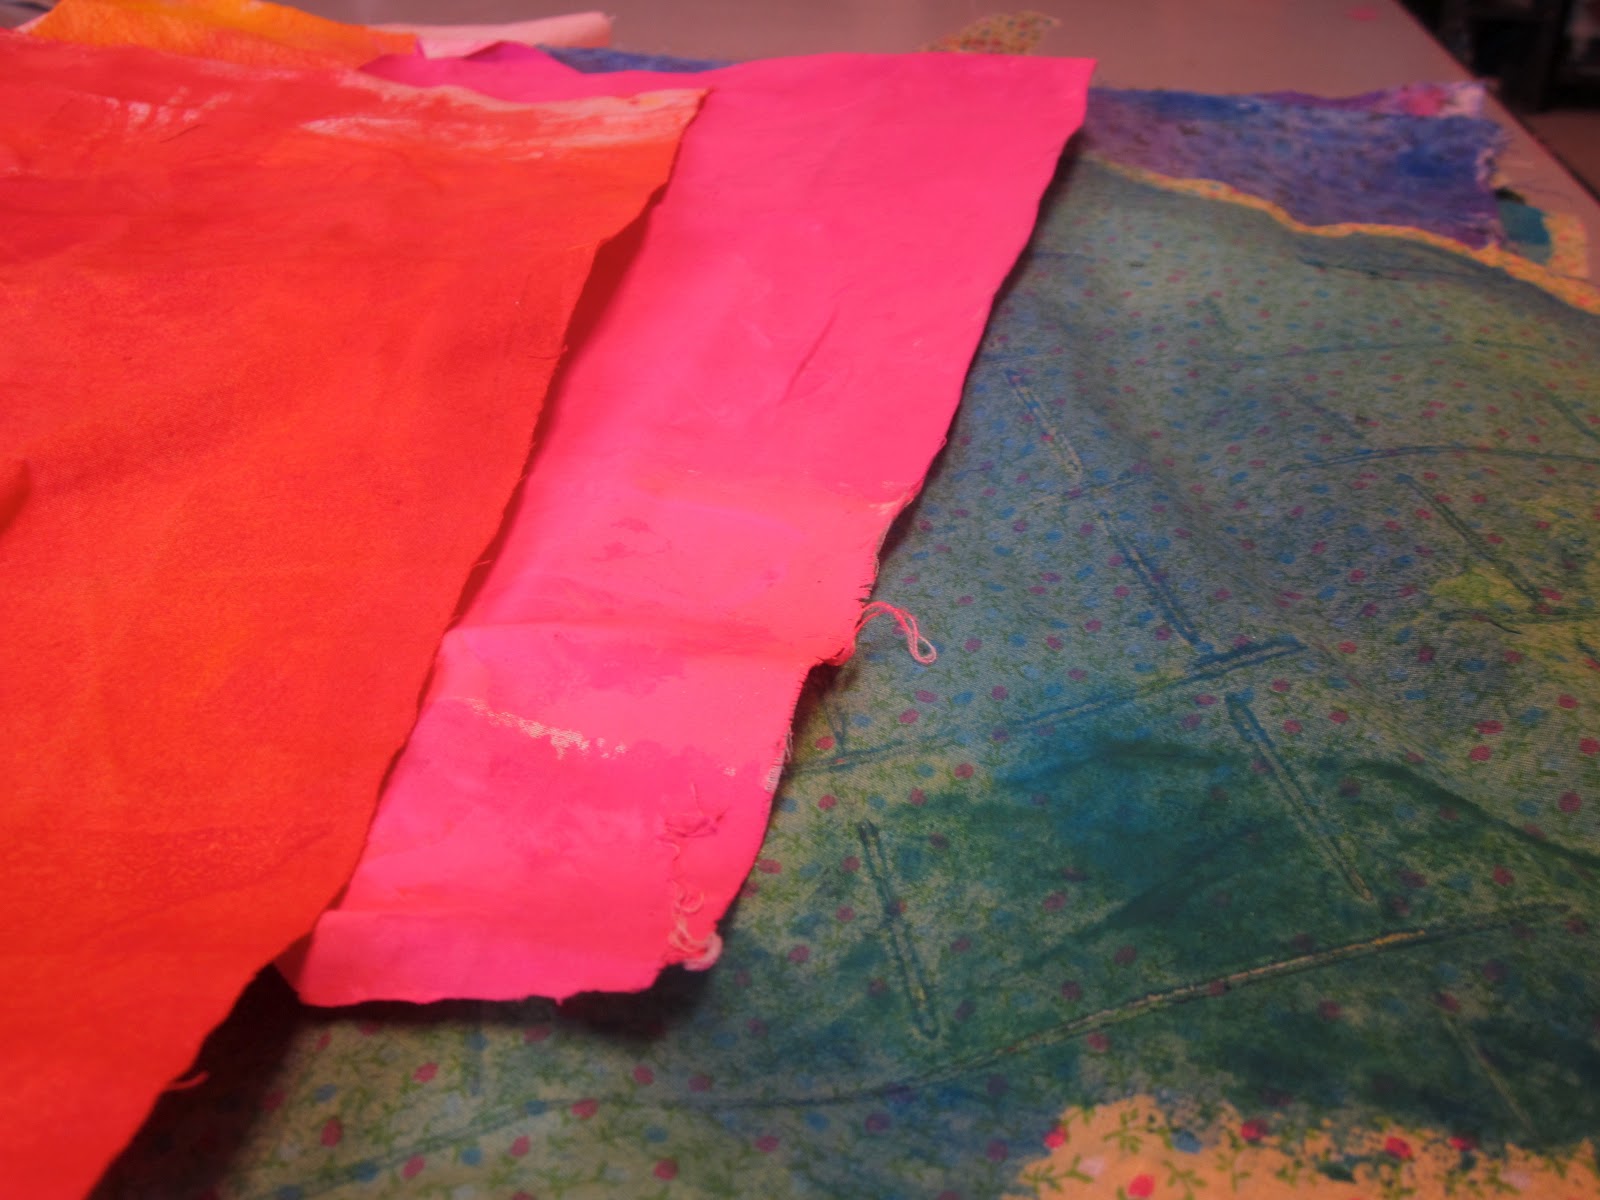
We worked together to paint fabrics!


We painted with acrylic paints on muslin fabric. We sprayed the fabric with water to allow the paint to spread more easily.


We had lots of painted fabrics at the end.

We even painted over ugly patterned fabrics.

Then, we chose our pieces and cut them up!

Some of the students chose to make a fabric collage with a friend.

We cut pieces, glued them and added stitching!

Lots of colors and designs.


Ribbons were a nice embellishment.


We learned and practiced our stitching skills.

You can still see some of our doodled designs in the cut up pieces.


This project was challenging and we explored many new skills.


LinkWithin

Related Posts with Thumbnails