In my college clay class I learned this extremely valuable clay trick. One of my students called it an "ancient clay secret" so I like to call it that too. This technique may be one that is known to you, but if you have never seen it, this technique may be helpful to you in your classroom. This has saved many pots from falling over in my teaching career.
 |
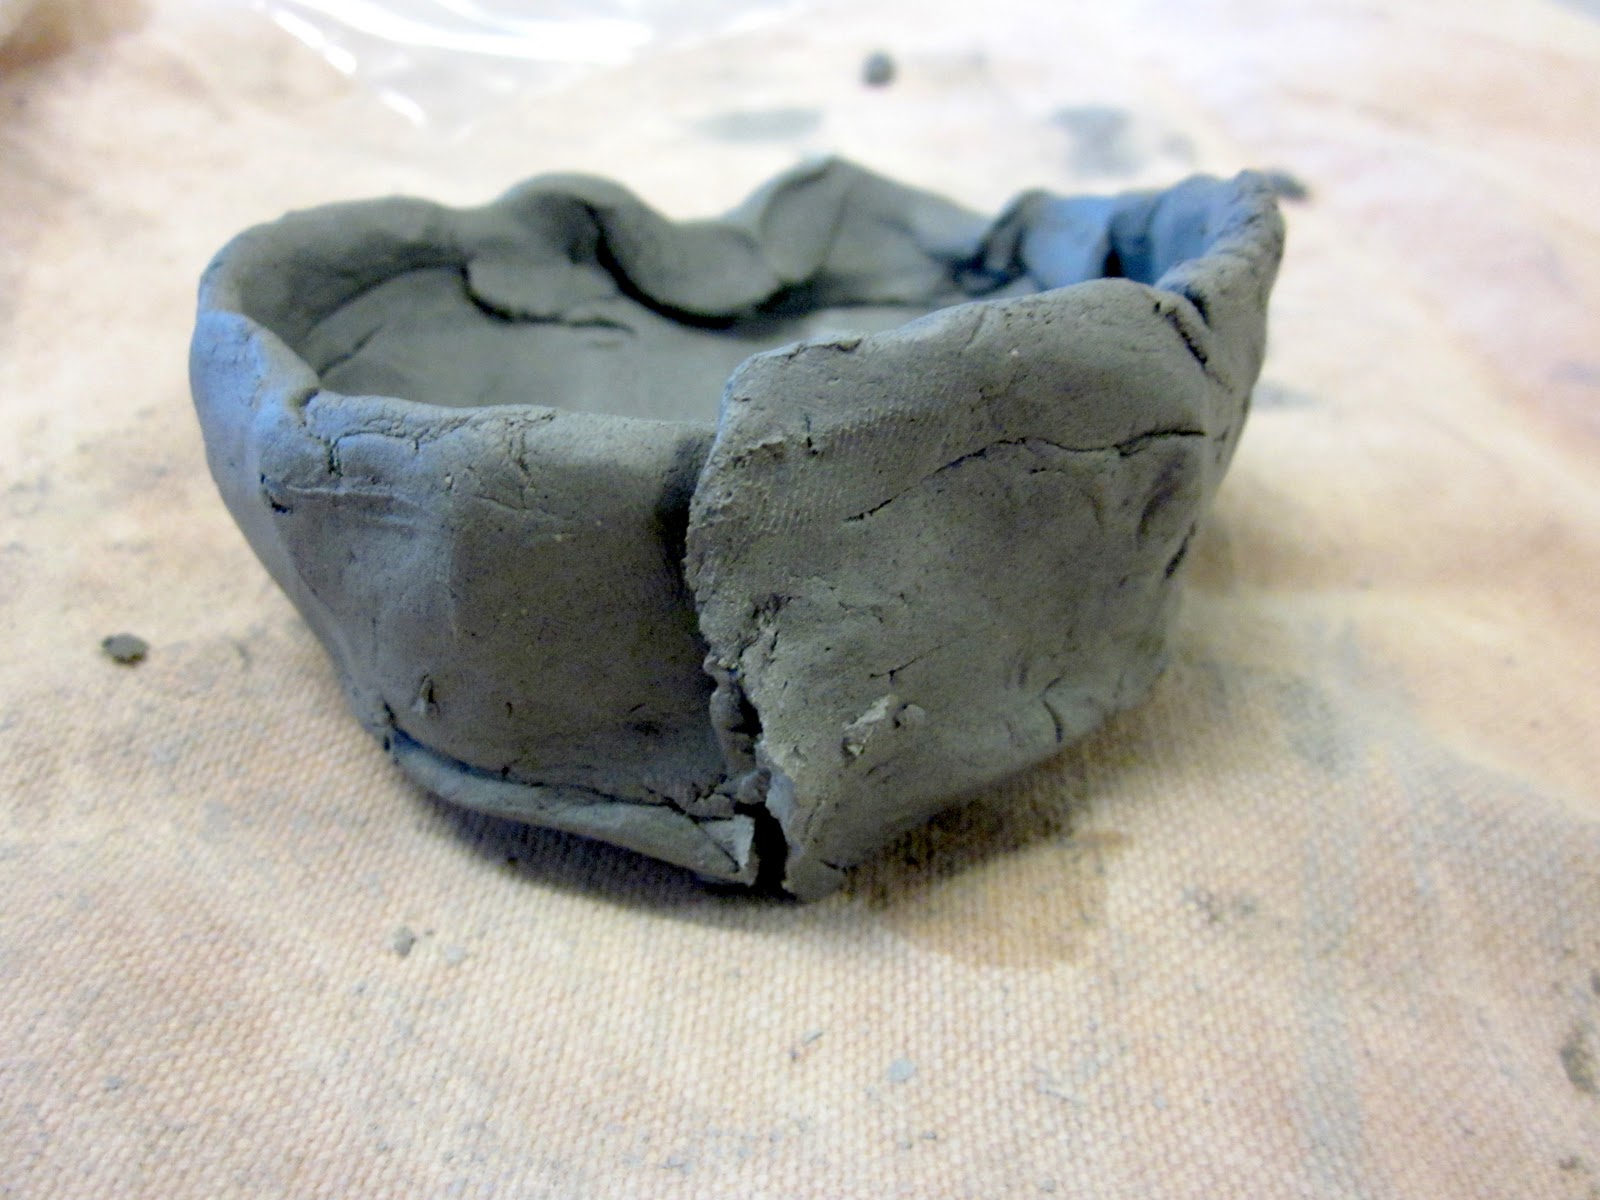
| Uh-oh! The walls are lopsided and falling over! What do I do? |
|
|
 |
| Step One: Take a sharp knife and carefully cut a triangle out of the pot. You might want to practice this technique before you actually use it on a student's work. |
 |
| Step Two: Take the two edges and stick them together. Use a bit of water (slip) and score the two sides in order to secure them. |
 |
| Step Three: Use your smoothing techniques to create a smooth seam. I like to use the back of a spoon and my hand to smooth together seams. |
 |
| Step Five: Let's try it again on the other side to even it up. |
 |
| Step Six: Continue smoothing the pot! Voila, doesn't that look much better? |
This post is sponsored by Creighton University, offering
Doctor of Education online.


2 comments:
I've kind of pinched the extra clay back together before but never thought of the wedge trick. It's a good one, thanks!
Great hint. Thanks
Post a Comment