Art is Basic has moved!

Art is Basic has moved!
Visit my new blog location by clicking on the Art is Basic logo.

Monday, June 6, 2011

Magazine Covers

 You may remember my last post about the magazine covers.  Here are some that the students created.  This was an end-of-the-year project and we didn't have as much time to devote to the project as I would have liked.  I think these turned out cute though! 


Thursday, June 2, 2011

So it's summer!

So it's summer time!  I'll still try to post a bit here and there. What are my plans?

1.  I'm doing a mini art camp next Monday and Tuesday for 2 1/2 hours each day at school. I have 10 kids signed up!  I will post pics of some of our art work.  I have a TON of fun stuff planned.  It's going to be focused more on personal expression and creativity and the kids will have choices.  I think I'm going to have some stations set up for the kids to pick from.

2.  RELAX!  of course, I definitely need to relax!!

3.  PLAY with this precious girl.


4.  We are signed up for a toddler-parent art class on Friday mornings.  I'm also taking a watercolor painting class on Wednesday mornings.  I can't wait!!

5.  I'm going to make lots of my own art!

Third Grade Silhouettes


We looked at the silhouette portraits of the early Americans as well as the paper cuttings of Hans Christian Anderson.  The students drew with white colored pencil on their black paper, and then cut out their designs.  Then, they flipped these over and glued them onto white paper (thus hiding any remaining white pencil lines.)  This book below is a must-see for this project!  We also looked at a book by Dr. Suess which features awesome silhouettes!!  I happened to stumble across this book in a thrift store when I was looking for books for my baby.  The copy I have is a tiny book, so I enlarged the pictures on a color copier to show my students.

Tuesday, May 31, 2011

Kindergarten Felt Collage

This was a 2 day project.  We decided as a class what our theme would be for the banner.  We chose the jungle.  Next, we brainstormed types of animals in the jungle.  Each kid signed up for one animal to make.  We cut these out of felt.  Next, I hot glued them on to a piece of burlap and green felt.  The kids also raided the fabric scrap box for extra details. 

Thursday, May 26, 2011

Faux Stained Glass


The 5th/6th graders have been studying Medieval art and we viewed a powerpoint about stained glass windows in cathedrals.  The students use glass stain on pieces of plexiglass to make their own picture.  We first drew the lines on a piece of paper.  Then, we placed the plexiglass on top of the paper.  They painted their black lines first and let them dry.  Then they use the glass paint to color in the areas. 

Tuesday, May 24, 2011

Op Art -- 3rd grade


First, we looked at the art of Bridget Riley and the Op art movement.  We read a Scholastic Art issue which features this style of art.  If you don't get these magazines, they are a great investment.  Each year, we subscribe for a class set of this magazine.  Then, I save them each year in an envelope labeled with the issue's title.  After several years, you will have a collection of lots of subjects to choose from.  Both of these Op art activities are discussed step by step on the Incredible Art Department.  Although, it is interesting that the checkerboard design is actually an assignment I had while I was in junior high school and that is where i got the idea from.

Sunday, May 22, 2011

American Gothic-- Third Grade


This is a tried-and-true art teacher lesson plan.  The students enjoyed learning the story behind Grant Wood's American Gothic painting.  We read an article about his famous painting.
They also enjoyed seeing various parodies of this artwork.  They envisioned their own parody of this famous masterpiece.
  
You can also read this book about his artwork:

Thursday, May 19, 2011

Paper Pulp Pictures

This lesson plan is an idea I tried at one of the National Art Education Conferences.  This is such a fun project because it gives you the experience of paper pulp painting, but without the blenders or mess.  One thing I will be sure to remind the kids of next time is to be sure to tear the paper into really small pieces.  The larger pieces fell apart.  We coated these with a modge podge after to secure them completely.  We also read one of Denise Fleming's books.  She creates her illustrations from paper pulp.  *** EDIT:  I need to add that you should make sure that the tissue paper is NON-BLEED.  If it bleeds, the colors will all run together.  It should say whether it is bleeding.  If it doesn't say "bleeding" it should be non-bleed. 


This is how we set up the tables for the kids.

Use a canvas cloth underneath as a place for your work.

Rip up tissue paper in tiny, tiny pieces.  Dip in water and then press very firmly to the canvas.  The goal is to push the fibers of the tissue paper together.  When they dry, they will re-bond.  Do not use large chunks of tissue paper!

After your whole picture is complete, let dry for one or two days.  If there is a lot of water on the picture, you might need to set up a fan to dry more thoroughly.
After the images were dry, we glazed a Mod Podge layer over the top.  I have heard that you can also use a little bit of glue mixed with the water (while you are making the picture).  The Mod Podge allowed the piece to be sealed and secure.

Then, I hot glued each project to a piece of white foam board for a lovely backing.


This post is sponsored by SantaFeUniversity.edu, offering art degree programs.

Wednesday, May 18, 2011

Graphic Design Magazine Cover

I wanted to introduce graphic design to my 4th graders and I thought a magazine cover would be super fun.  I was able to check out the mobile lab computers for one of my classes, but for the other unit, the cart was already checked out, so those kids are doing something else completely hand drawn.  I showed them a short powerpoint about graphic design elements, quickly showed them my example and set them off to create their own magazine cover in photoshop or word.  They are just typing the text of the magazine, and then hand drawing the image on the cover.  If we had more time, I could have them search for pictures for their cover, etc. but since it is the end of the year, we are pressed for time.   Here is my example and I can't wait to see what these kids will come up with!
Yep, I'm no graphic designer, but I had fun making this!  Oh, and we had a nice discussion where the kids had plenty of ideas for improving my design!  It really allowed them to think critically about what could be left out, what could be added and what would make the communication most effective.

Tuesday, May 17, 2011

Dinosaur Silhouettes


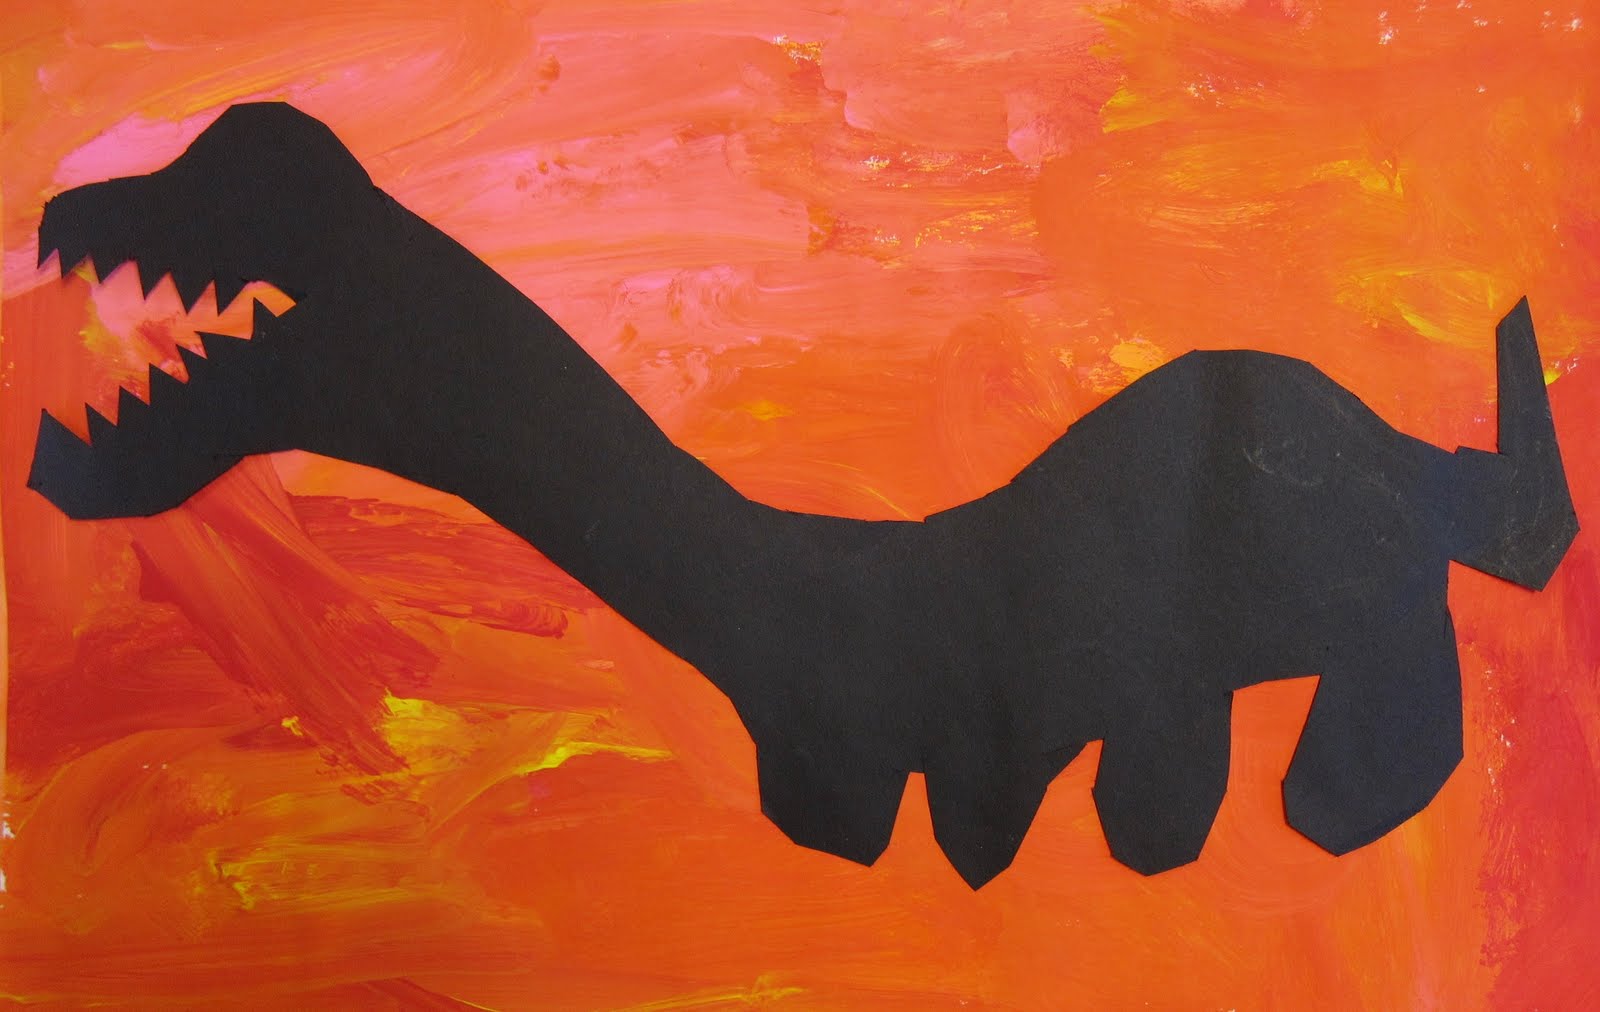
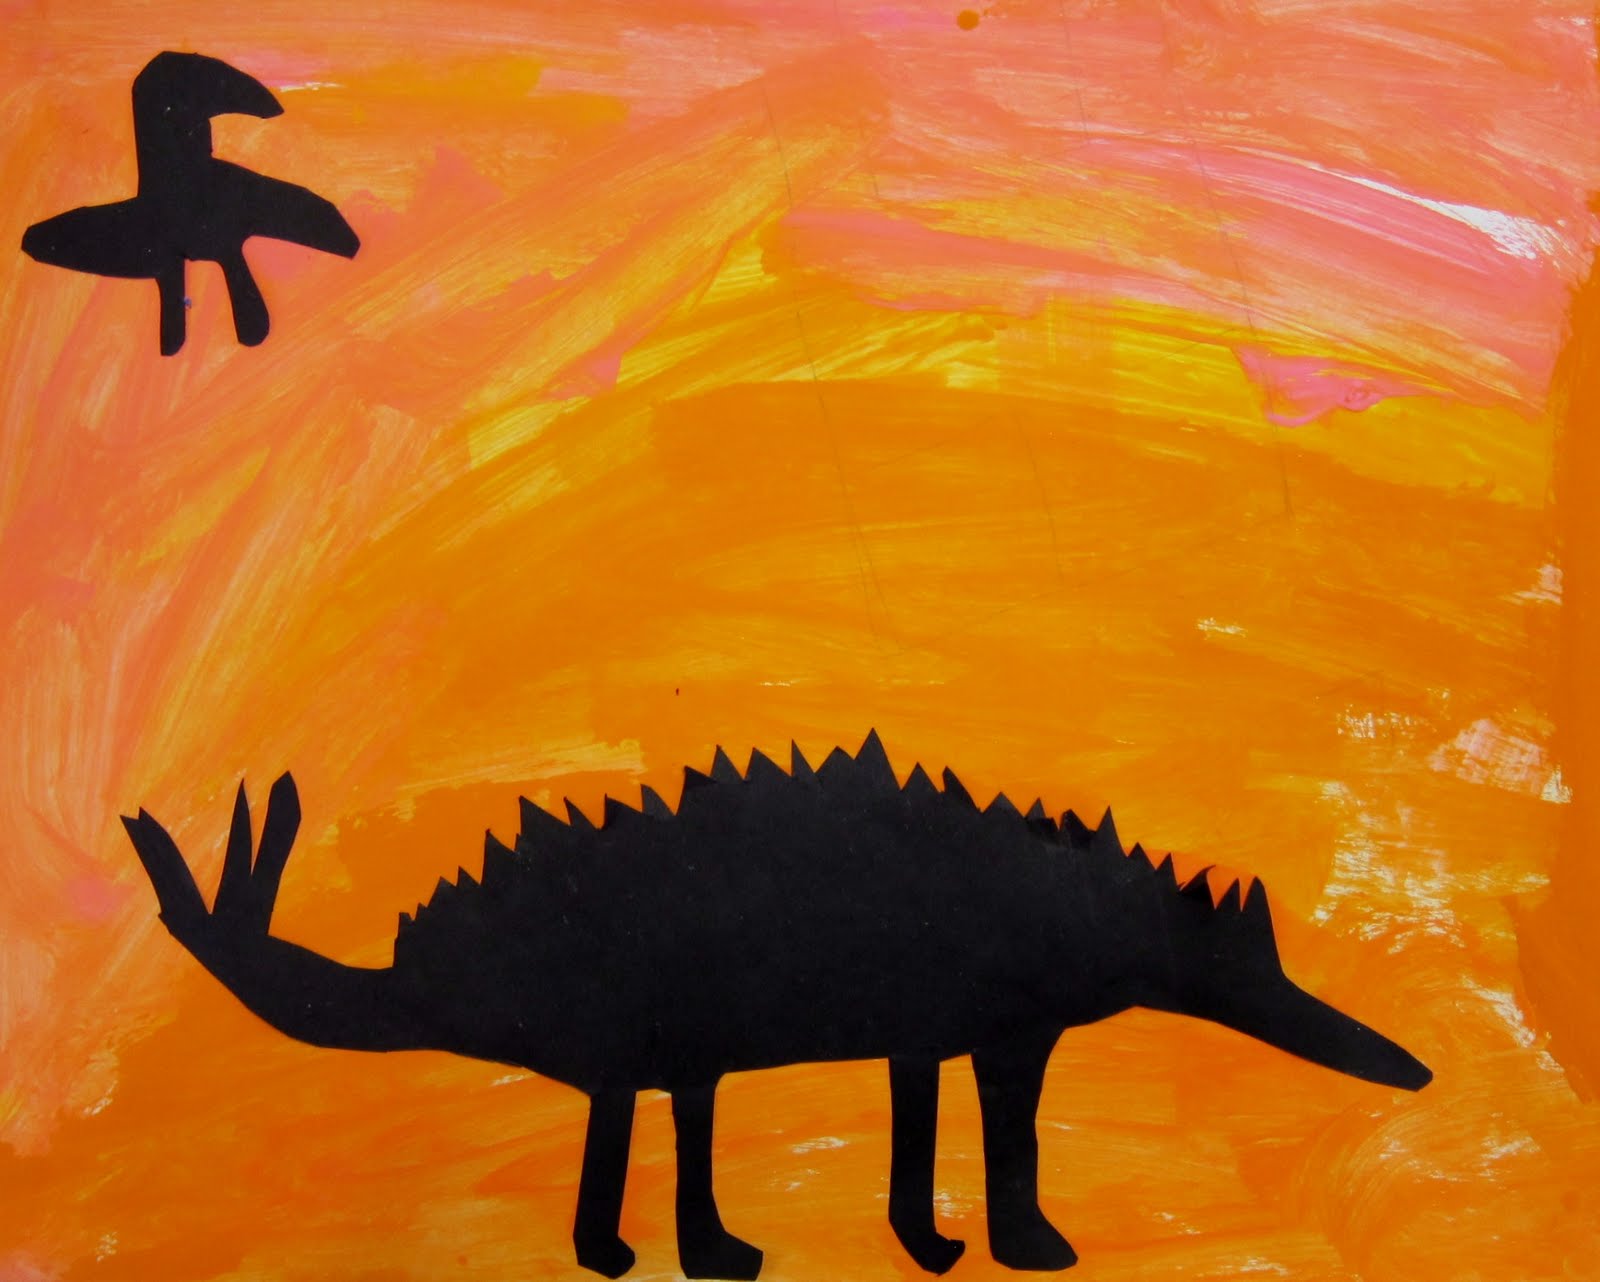
This is one of my favorite lessons for kindergartners!  First, we identify and classify the colors as warm or cool.  Then, we choose all the warm colors we have (different shades of oranges, yellows, reds).  Then the first day, the paint their whole piece of paper with warm colors.  After they have placed these on the drying rack there is usually about 10-15 left of class, so they sketch some dinosaurs from pictures that I have show them.  The following class period, they draw their dinosaurs using white colored pencil on a black piece of paper.  Then, they cut these out.  I show them how to flip the dinosaurs over and glue them down so that their white lines are on the bottom.  I love the striking contrast!

LinkWithin

Related Posts with Thumbnails