Art is Basic has moved!

Art is Basic has moved!
Visit my new blog location by clicking on the Art is Basic logo.
Showing posts with label clay camp. Show all posts

Thursday, November 4, 2010

Clay Pocket Pots

 Today I held an after school clay class for grades K-5.  I had 11 kids sign up and we made pocket pots.  These are so fun!  After painting them, we will attach a wire to the top and they can hang on the wall to hold items like keys or money.  I took pictures of the kids as they worked.

Roll out a slab of clay.  Trace an oval template and cut out.
Cut a straight line across the oval, about 2/3 of the way from the bottom.
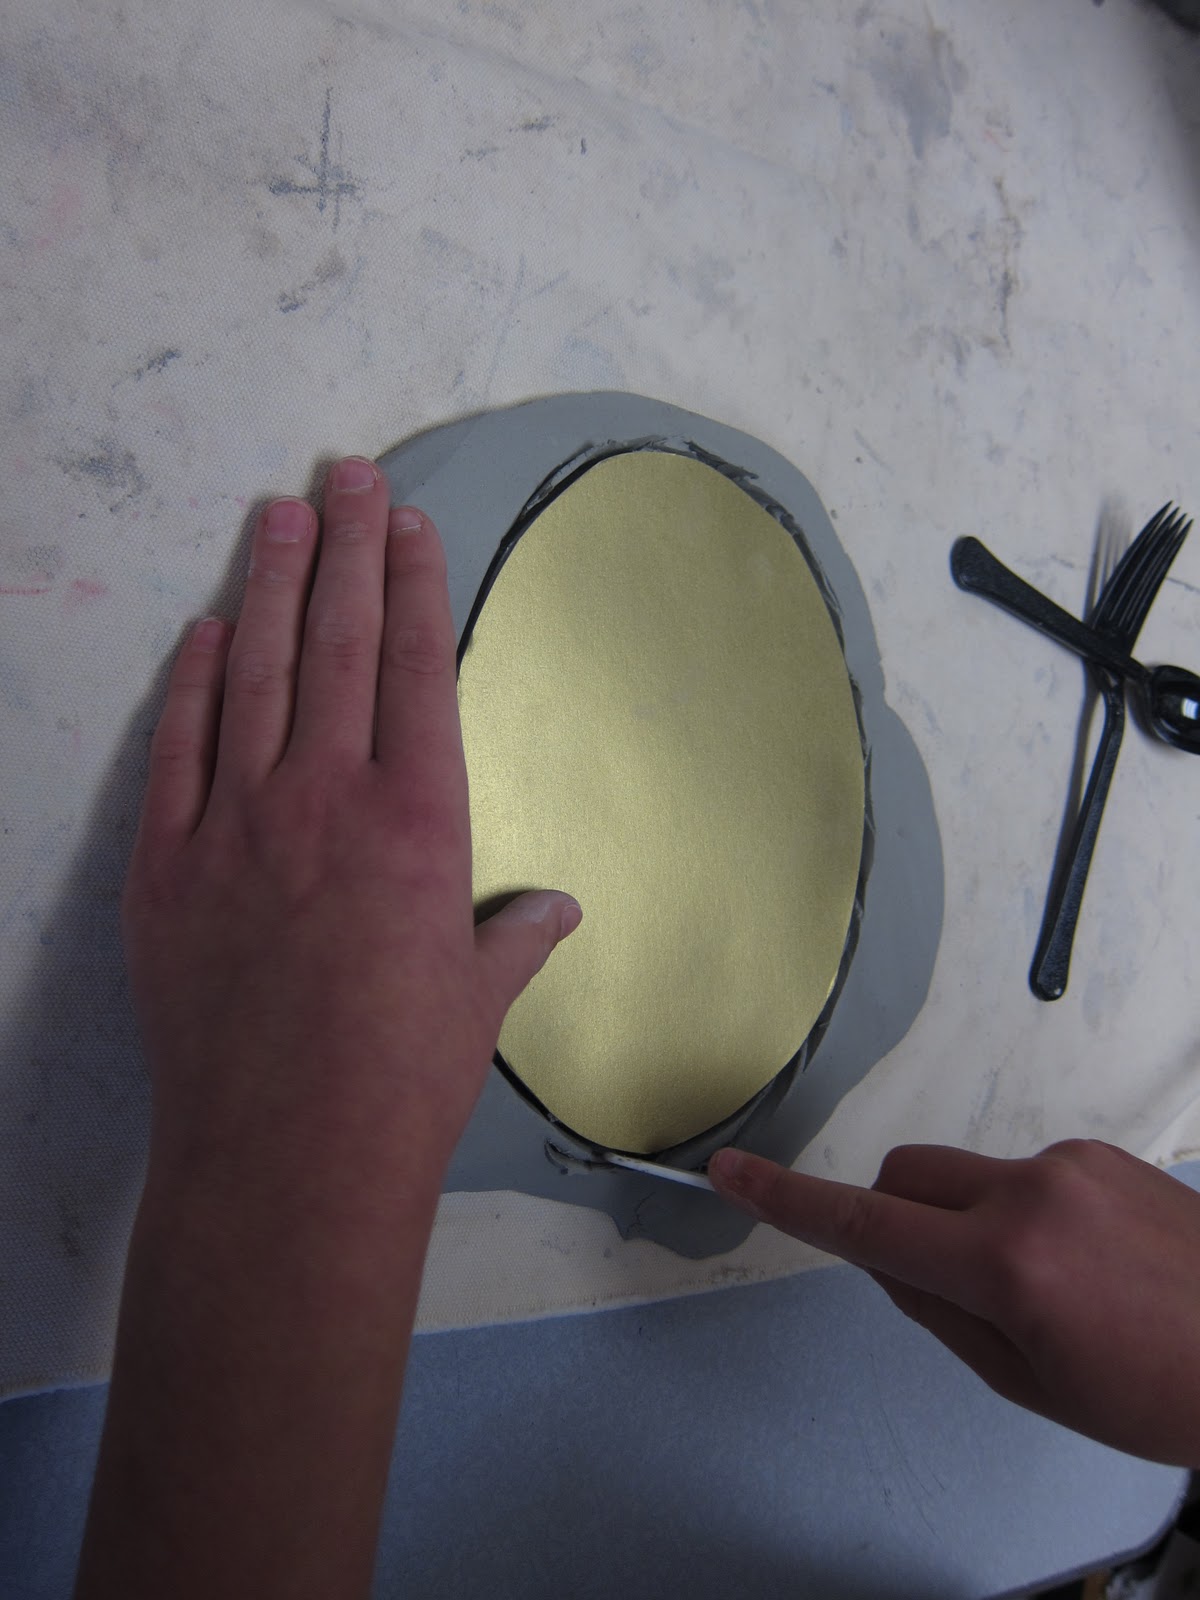
Take the piece you cut off, and attach it to the bottom of the slab, bumping it up a little.  Score the parts with a fork and add some water to moisten. 

Use the back of a spoon to smooth the seams and make it stronger.  Also smooth out any bumps or jagged edges.

Use leftover clay to cut out shapes for designs.


You can use objects to stamp designs in the clay.  These were pieces from the game Perfection, which had broke.


You can carve in designs or draw on the clay with toothpicks.  Add holes to the top with a pointed tool.  Be sure they are large enough for wire or yarn to go through.

The holes are the eyes.  Next step is to fire, then glaze, then fire again, then add the wire or yarn to through the top holes.  All of these examples were made by K-5 grades.  I have done this project with older grades and not had a tracer.  The kids could make the pocket pot in different shapes.


Monday, July 26, 2010

Clay Camp for Kids-- Week Four-- Clay People

These are my examples above.  I think I'm going to paint them and make an assemblage out of them.
grades K-3 figures
One child's elf figure
I made this little guy and put him in a bowl to support his back.  One of the kids said he looks like he is sitting in a hot tub!  cute!
We made clay people today in Clay Camp! 

Clay Camp for Kids-- Week Three-- Birds in a Nest

Here are some of the things we have been working on during clay camp for kids. The kids are going into kindergarten-6th grade.

Week 3 I taught the little ones (entering K-3) how to make pinch pots for birds' nests and then how to form a bird. All of our projects will be painted next week. This is a good project for learning how to make pinch pots.

First make a pinch pot with a couple of eggs in it.

Next, make a bird from the leftover clay.  You can leave the bird unattached, so you are able to take the bird out of the nest or place it inside.  After the clay is fired and painted, you can gather small twigs and grasses to place in the nest.  These birds were made by lower elementary students.


Thursday, July 22, 2010

Clay Camp for Kids-- Week Two

We are having a great time at the summer Clay Camp for kids that I taught in DeForest, WI.  The second week we made clay monsters.  To make a monster, first, start by making a pinch pot.  See this website for a demo of pinch pots if you are not sure how.  Next, gently squish the pinch pot so it is slightly flattened.  Turn the pinch pot on its side and add teeth, eyes, legs, feet, horns, ears, nose, tongue or whatever you want!

These were made by kids in grades K-3:

The final step is to paint these, which we will do at the end of the class.
Some of these were made by older kids (grades 4 and up).  Here are more examples of clay monsters:


LinkWithin

Related Posts with Thumbnails