Our last summer art workshop was a fun one! We decoupaged tissue paper on to glass vases. The cylindrical ones could be candle holders. We tore and cut tissue paper and adhered them to the glasses with Matte Medium. I hate the smell of mod-podge, so I rarely use it. I get headaches from it, does anyone else? I figure if I get headaches from it, it probably is not good for the kids to inhale. This Blick Matte Medium was fine to work with and I did not think it smelled too badly. You could also use the gloss medium for a shine (I don't know what that smells like.) The matte medium dried clear and the pieces stuck on. I would not immerse the vases in water.
For this project, we used contact paper and tissue paper to make a faux stained glass hanging. Lay the contact paper sticky side up and place your shapes on it. Then, put another piece of contact paper sticky side down and sandwich the tissue paper in between.
We used glitter in ours. However, using too much glitter made it hard for the contact paper to stick together! There are many fun tissue paper projects online ... like this one and this one!
Pages
▼
Sunday, July 29, 2012
Friday, July 27, 2012
Etsy Shop Sale: 35% off!
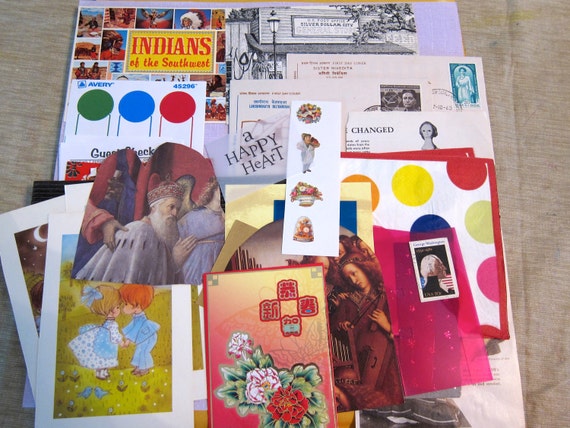
I'm trying to clear out some of my inventory in my Etsy Shop for the end of this cycle of goods. Would you be interested in some vintage ephemera?
Or maybe a collage pack?
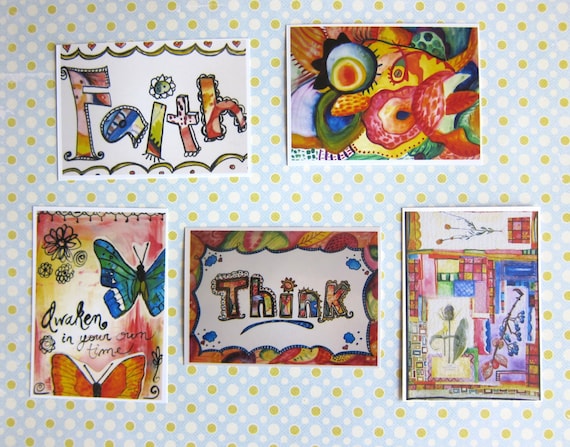
Or maybe you would be interested in some of my ACEOs?
To receive 35% off your order, type in coupon code: JulySpecial at the checkout! There won't be another sale like this until Black Friday.
Or maybe a collage pack?
Or maybe you would be interested in some of my ACEOs?
To receive 35% off your order, type in coupon code: JulySpecial at the checkout! There won't be another sale like this until Black Friday.
Tuesday, July 24, 2012
Wednesday, July 18, 2012
Monoprinting with Markers
Thank you to Mrs. Jahnig for this wonderful idea. I had pinned this monoprinting technique on my Pinterest board, but now it appears the link to her blog is gone. Are you out there Mrs. Jahnig? Anyways, today was another one of my summer art workshops with kids at school. We did monoprinting with markers.
 |
| 1. Draw on a piece of plexi-glass with washable markers. |
 |
| In progress design. |
 |
| 2. Spray your paper with water, two or three sprays. Then, flip the paper over on to the plexi-glass and rub the back. |
 |
| 3. Lift the print carefully from the plate. You will need to experiment to get the right amount of water on the paper. |
 |
| Here is a print with a little too much water on the paper.. the marker spreads out like watercolor. Still nice, but we tried another drawing with less water. |
Tuesday, July 17, 2012
Gridded Drawings-- 5th/6th grade
This was another fun project at the end of the year. The 5th/6th grade students marked off a one inch grid on their white paper. Then, they chose a photo to enlarge and draw. It could be a person (some chose a parent, others chose famous people) or it could be an animal. I photocopied grids on to transparencies and these were taped on top of their photo. Then, they drew their picture square by square. There are many resources, such as this page, on the internet to explain how to use the grid technique. The students watched short video clips from You Tube about Chuck Close. These are two good ones: Chuck Close Writes Note to His Younger Self. and Trailer for A Portrait in Progress. Did you know Chuck Close has face blindness? That is a fascinating clip from 60 minutes about face blindness.
Thursday, July 12, 2012
Body Pictures-- Summer Camp
I am teaching 3 summer art sessions. Each session is two hours long with one or two art projects. For this session, I had 2 students going into 4/5th grade, 2 students who just finished kindergarten, and one student going into kindergarten. It was a small class, which was perfect for this project, since the pictures were LARGE.
To start, we traced our bodies on large butcher paper. Then, we outlined them with markers and used collage materials (magazine images, stickers, tape and paint) to create an artwork about ourselves.
To start, we traced our bodies on large butcher paper. Then, we outlined them with markers and used collage materials (magazine images, stickers, tape and paint) to create an artwork about ourselves.
Monday, July 9, 2012
Starry Nights-- kindergarten
This was one of my FAVORITE lessons this year. I just loved how each and every one of them turned out. They are so expressive and colorful. This is a new spin on a Starry Night lesson.
I started by introducing Vincent Van Gogh's art by showing prints of his art and by showing a movie:
Then, the students drew swirls, dashed and dots to create MOVEMENT using markers. I told that this would be their night sky, so they could add stars or other "sky things" if they wanted.
These could be interesting and beautiful artworks on their own!
Then, the kids cut out buildings, trees or anything from black paper to create silhouette forms.
Finally, to add extra color, the kids added colorful shape stickers for windows and other details. I ordered this huge pack of shape stickers from Discount School Supply. These should last us a LONG time.. the package of stickers is HUGE!
Here are some of the finished masterpieces!
I am HAPPY to share my ideas with you and give you some inspiration. Pin it, bookmark it, print if off... Heck, copy the lesson exactly! But, if you decide to copy the lesson exactly and repost it on your blog.. please link back to me! I know a Van Gogh lesson isn't original, but this one was my own unique take on a Starry Night lesson. When I was searching for inspiration for my lesson... I found these two projects which I LOVED: Starry Night Idea #1 and Starry Night Idea #2....


