 |
| This was a 2 day project. We decided as a class what our theme would be for the banner. We chose the jungle. Next, we brainstormed types of animals in the jungle. Each kid signed up for one animal to make. We cut these out of felt. Next, I hot glued them on to a piece of burlap and green felt. The kids also raided the fabric scrap box for extra details. |

Art is Basic has moved!

Visit my new blog location by clicking on the Art is Basic logo.
Tuesday, May 31, 2011
Kindergarten Felt Collage
Thursday, May 26, 2011
Faux Stained Glass


Tuesday, May 24, 2011
Op Art -- 3rd grade


First, we looked at the art of Bridget Riley and the Op art movement. We read a Scholastic Art issue which features this style of art. If you don't get these magazines, they are a great investment. Each year, we subscribe for a class set of this magazine. Then, I save them each year in an envelope labeled with the issue's title. After several years, you will have a collection of lots of subjects to choose from. Both of these Op art activities are discussed step by step on the Incredible Art Department. Although, it is interesting that the checkerboard design is actually an assignment I had while I was in junior high school and that is where i got the idea from.
Sunday, May 22, 2011
American Gothic-- Third Grade


This is a tried-and-true art teacher lesson plan. The students enjoyed learning the story behind Grant Wood's American Gothic painting. We read an article about his famous painting.
 They also enjoyed seeing various parodies of this artwork. They envisioned their own parody of this famous masterpiece.

You can also read this book about his artwork:
Thursday, May 19, 2011
Paper Pulp Pictures

 |
| This is how we set up the tables for the kids. |
 |
| Use a canvas cloth underneath as a place for your work. |
 |
| Rip up tissue paper in tiny, tiny pieces. Dip in water and then press very firmly to the canvas. The goal is to push the fibers of the tissue paper together. When they dry, they will re-bond. Do not use large chunks of tissue paper! |
 |
| After your whole picture is complete, let dry for one or two days. If there is a lot of water on the picture, you might need to set up a fan to dry more thoroughly. |
 |
| After the images were dry, we glazed a Mod Podge layer over the top. I have heard that you can also use a little bit of glue mixed with the water (while you are making the picture). The Mod Podge allowed the piece to be sealed and secure. |
 |
| Then, I hot glued each project to a piece of white foam board for a lovely backing. |


This post is sponsored by SantaFeUniversity.edu, offering art degree programs.
Wednesday, May 18, 2011
Graphic Design Magazine Cover
I wanted to introduce graphic design to my 4th graders and I thought a magazine cover would be super fun. I was able to check out the mobile lab computers for one of my classes, but for the other unit, the cart was already checked out, so those kids are doing something else completely hand drawn. I showed them a short powerpoint about graphic design elements, quickly showed them my example and set them off to create their own magazine cover in photoshop or word. They are just typing the text of the magazine, and then hand drawing the image on the cover. If we had more time, I could have them search for pictures for their cover, etc. but since it is the end of the year, we are pressed for time. Here is my example and I can't wait to see what these kids will come up with!
 Yep, I'm no graphic designer, but I had fun making this! Oh, and we had a nice discussion where the kids had plenty of ideas for improving my design! It really allowed them to think critically about what could be left out, what could be added and what would make the communication most effective.

Tuesday, May 17, 2011
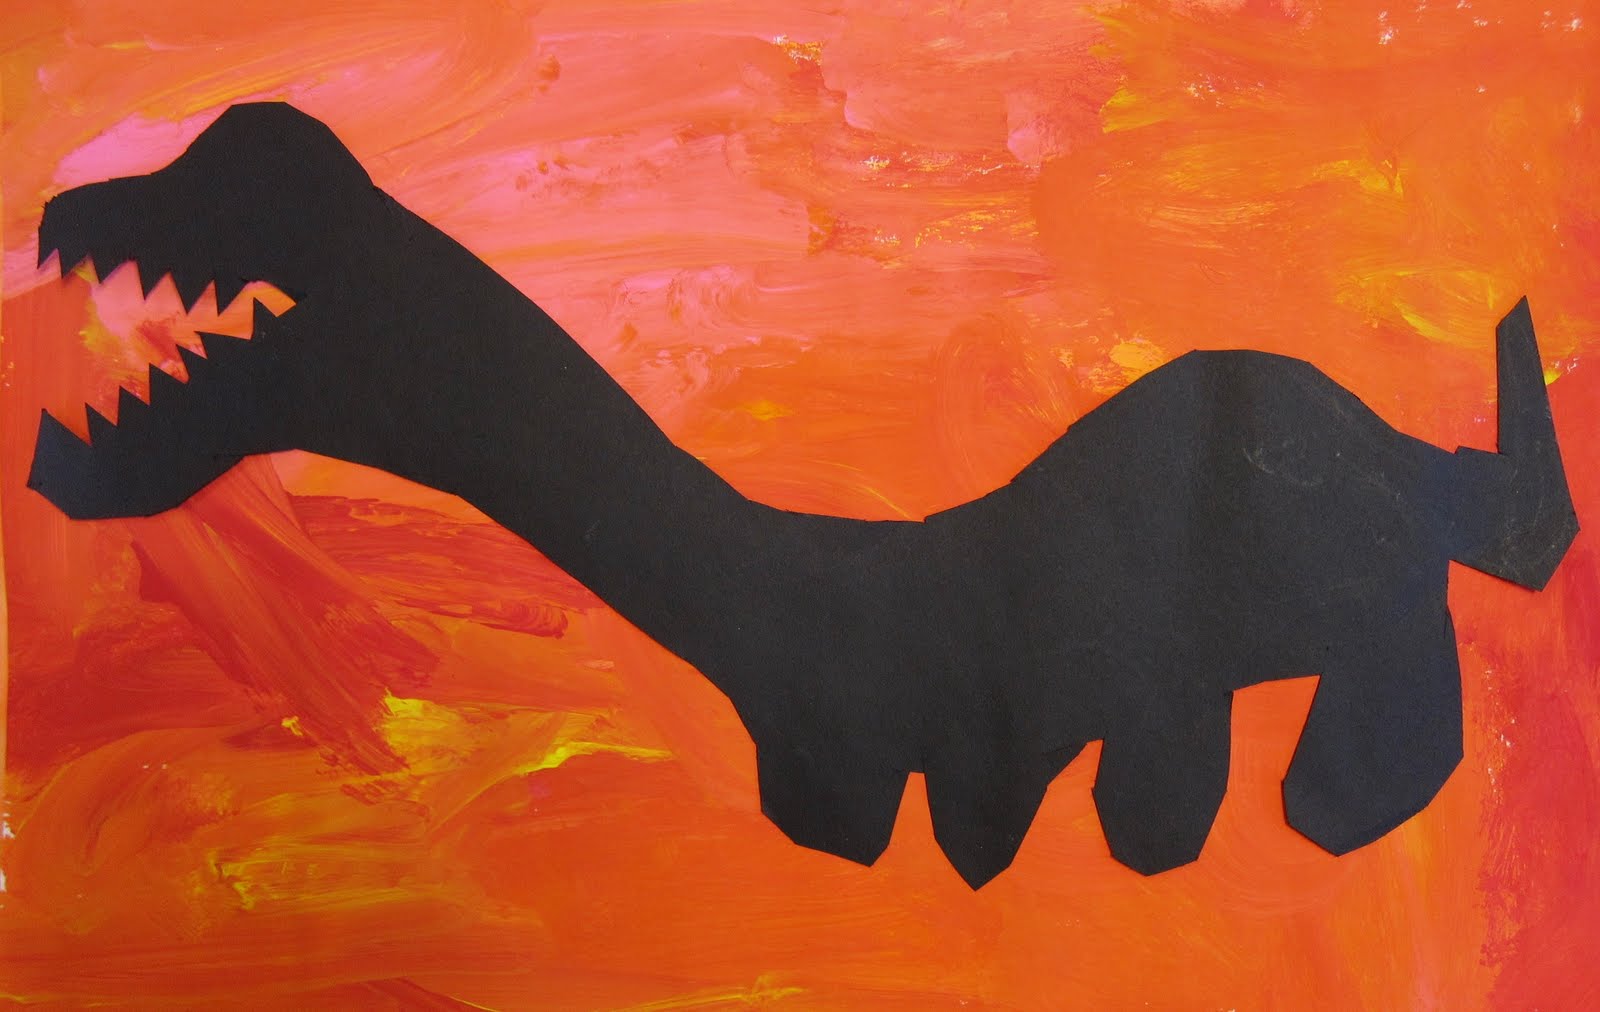
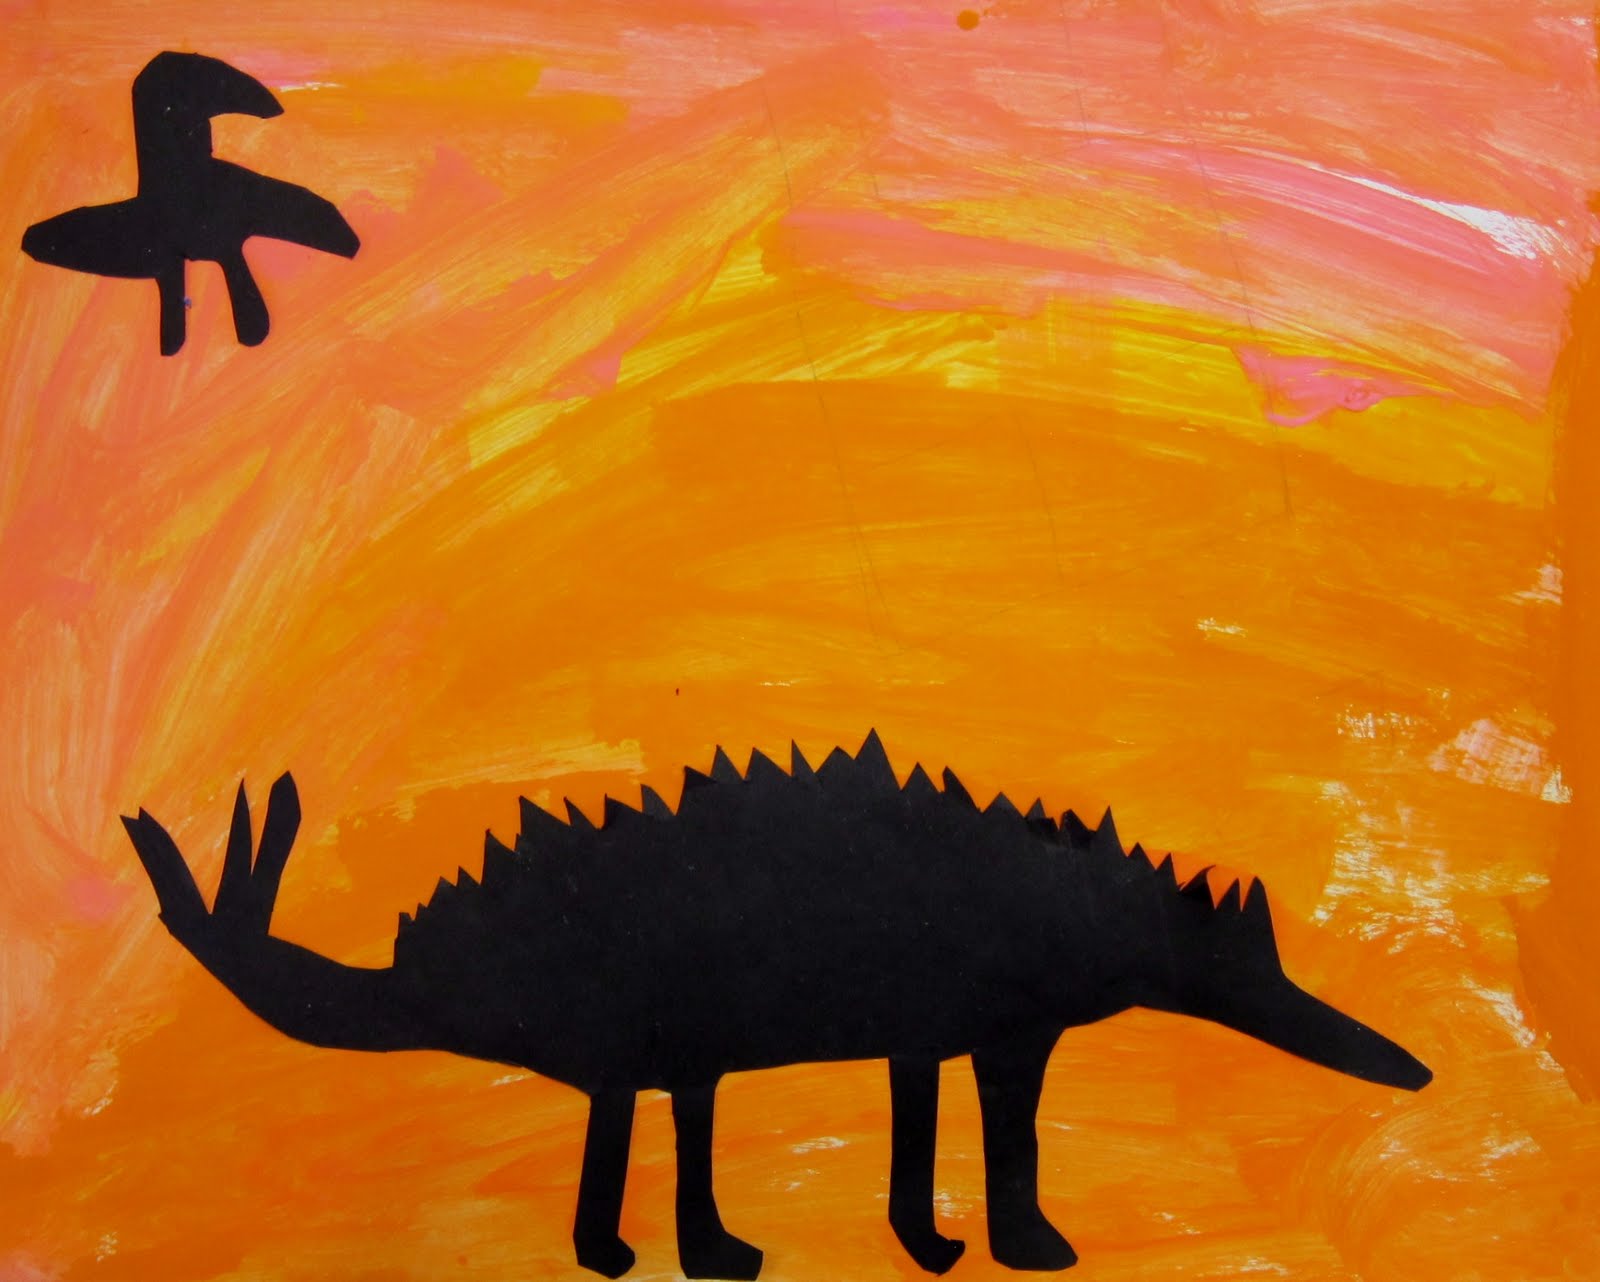
Dinosaur Silhouettes
Monday, May 16, 2011
Underwater Collage-- 1st grade

The 1st graders looked at art that was about water and then created their own underwater collage using tissue paper, foil, cellophane and drawings of underwater creatures.
Architecture -- 2nd grade


Sunday, May 15, 2011
Memory Drawings


Saturday, May 14, 2011
Budgets for Art
I was reading the teacherartexchange listserve from the Getty museum, which is a very cool list serve, and I felt really sorry for one teacher who only has $100 for a budget that serves 350 students. She was wondering what other typical budgets were. Here is the response I sent her, which might help you also to find good deals for your classroom:
"Wow, $100 per year is ludicrous. I spend more than that each year for my own personal art supplies. I agree with everyone else to gather the data about what you reasonably need to purchase each year. My budget is different now because I am at a private school, but when I taught at a public school I believe I had about $2000 (give or take a few hundred, can't remember) for about 150 kids? Then, when I taught at a middle school I had around the same amount $2000 for about 300 kids (although they rotated classes every quarter). Each of these budgets was adequate and covered the expenses for these kids. If you are truly stuck with this budget next year here are some tips for you.
-- set up an Artsonia.com account for your school. Each year our school earns a couple hundred dollars through that site.
-- join freecycle.org and you would be surprised at what people are offering for free... in just one week I saw posts for yarn, fabric scraps and scrap wood. You could also post specific requests for things you want. I asked for Sesame Street toys for my little girl and got 3 big bags of books, dvds, stuffed animals, a sprinkler.... people like to pass along their used items to people that would enjoy them. Plus, it's good for the environment. It's also a good way to get rid of strange things you don't need anymore.
-- Post things in your school newsletter and send out flyers for donations of art supplies that people don't use anymore.. you could ask for things like buttons, crayons, markers, beads, fabric, yarn... lots of people have lots of craft supplies they buy and never use. I even asked for aprons and one of our parents who owns a restaurant donated a class set of aprons!
-- When the kids have a supply list at the beginning of the year, see if you can add on some art supplies.. For example: All first graders bring in a box of markers and a glue stick which are gathered for general use in the art class. I have the students bring in pencil sharpeners, erasers, glue sticks, markers, black uniball pens and more. One year I had each child in one grade bring in a ream of computer paper and 3 years later, we still are making sketchbooks from that supply.
-- See if your community has a Hardware Re-store.. ours is a habitat for humanity one I believe. I have picked up ceramic floor tiles for pennies, wood boards, nails, all sorts of odds and ends for very cheap.
-- Check out thrift stores and garage sales. I have gotten so many good things from garage sales. Our local thrift stores have lots of hodge podgy craft items which you may be able to find use for.
-- Plead your case to your parent organization. I have gotten support in the past from the parents for special projects and supplies.
Good luck! $100 is a very tough budget!! Marcia
Friday, May 13, 2011
Portrait Drawing Exercise from postcard images

Drawing Activity
This drawing activity will help to sensitize you to the variety of drawing styles and qualities. First, fold your paper in half 3 times in order to make 8 rectangles. In each of the rectangles, you will make a portrait. Choose one of the postcards of a portrait to replicate.
1. In the first box, draw it as accurately as you can.
2. In the second box, draw it using quick, squiggly lines.
3. In the third box, draw it emphasizing shading and shadows.
4. Draw it very fat.
5. Draw it filled with patterns and designs.
6. Draw it made out of geometric shapes.
7. Draw it as if made of rocks, like a rock wall.
8. Draw it from memory.


I got this idea from this book:
Tuesday, May 10, 2011
Tissue Paper Flowers in Vases


Monday, May 9, 2011
4th/5th Grade Secret Cities-- Drawing in 3-d, shading
Secret Cities
The 4/5s learned how to draw 3-d forms and include shading and shadows. They stacked these shapes to make a "secret city".
The 4/5s learned how to draw 3-d forms and include shading and shadows. They stacked these shapes to make a "secret city".
I got this idea from a book about drawing by Mark Kistler.


This artist had a series of television shows that taught kids how to draw 3-d pictures step-by-step. Here is a video of a "secret city" mural.

Saturday, May 7, 2011
the art of silliness!

Friday, May 6, 2011
Wouldn't this be a fun and educational project for kids?
In my blog perusing, I found this cool junk mail tutorial. Wouldn't it be a fun project for kids to recycle all those pieces of junk mail we all receive? The catalogs and flyers that come in the mail are out-of-control for teachers!
Here is her website
Here is her website
Cross Hatched Animals


Hatching and Cross-Hatching by the 3/4s
The 3/4s are learning about hatching and cross-hatching. They explored this technique in a portrait drawing. After a quick practice of portrait drawing, the students moved on to a cross hatched animal. Animal pictures lend themselves better to this technique, because there is a lot of texture on the surface of an animal.

Subscribe to:
Posts (Atom)